Splash Guards
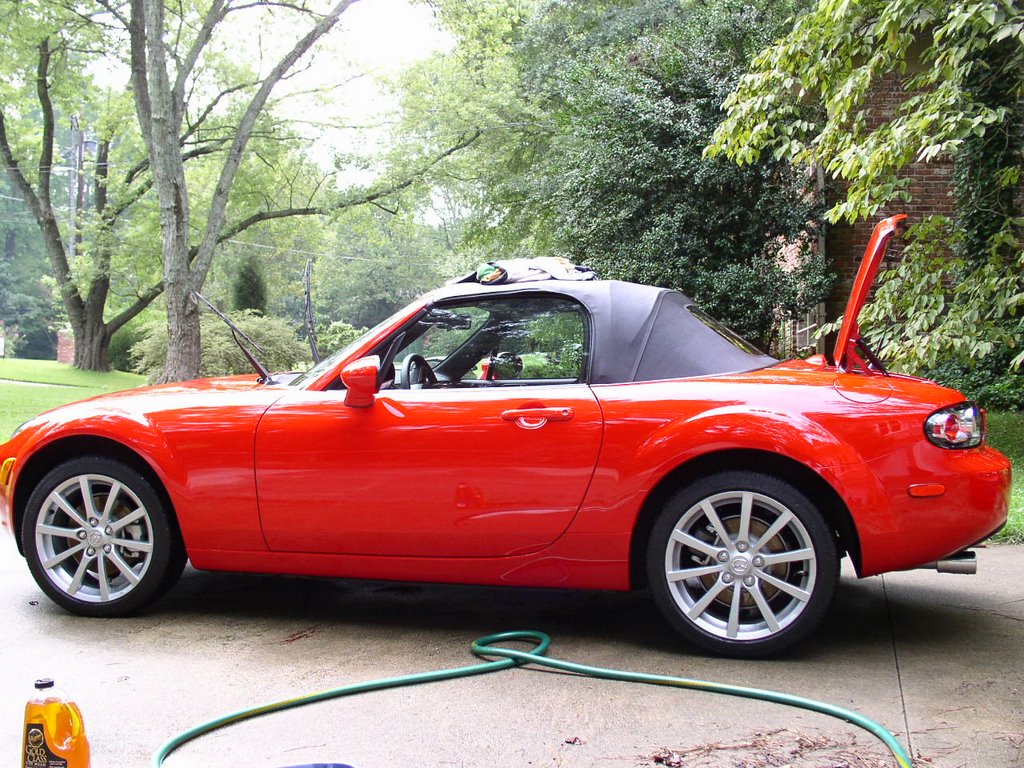 Today, I installed the factory splash guards. It was a nice day with no rain forecast. I went ahead and washed the car first. After that, I opened the box containing the rear guards.
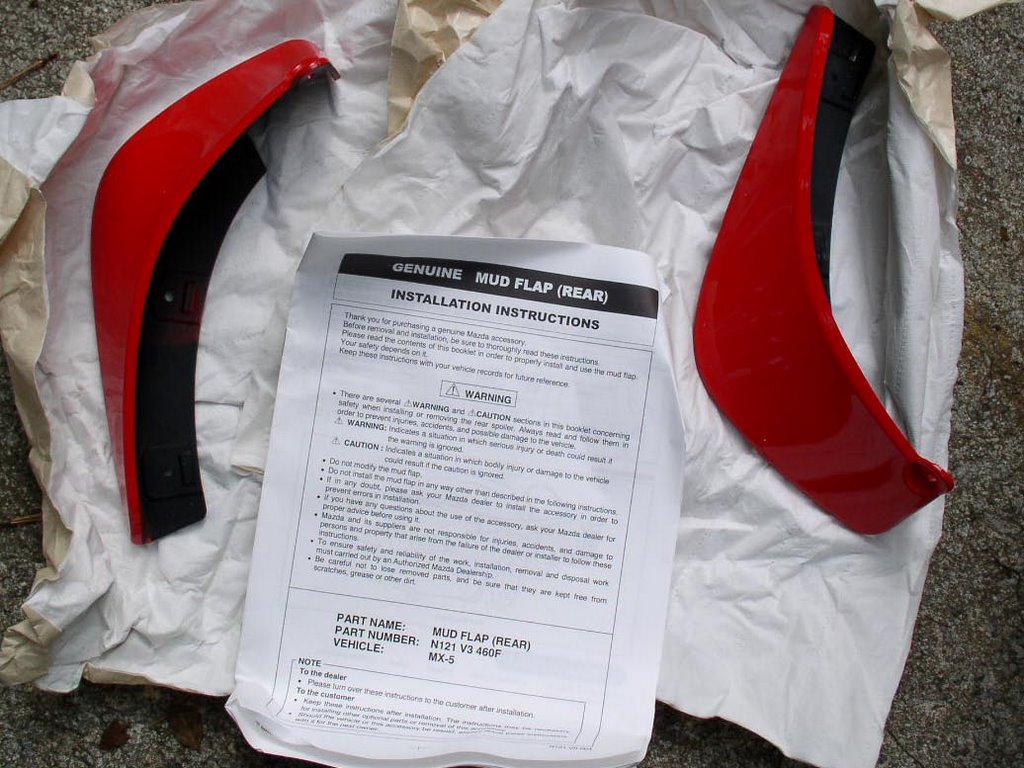 I waxed them and read through the instructions. Easy.
 You have to take out this plastic shield from the back side of the wheel well and make room for the screws that hold on the guards. The screws have 8mm heads. You can use a phillips head screwdriver if your 8mm doesn't fit. I used a wire cutter to clip out the notches. The rear fender already has holes.
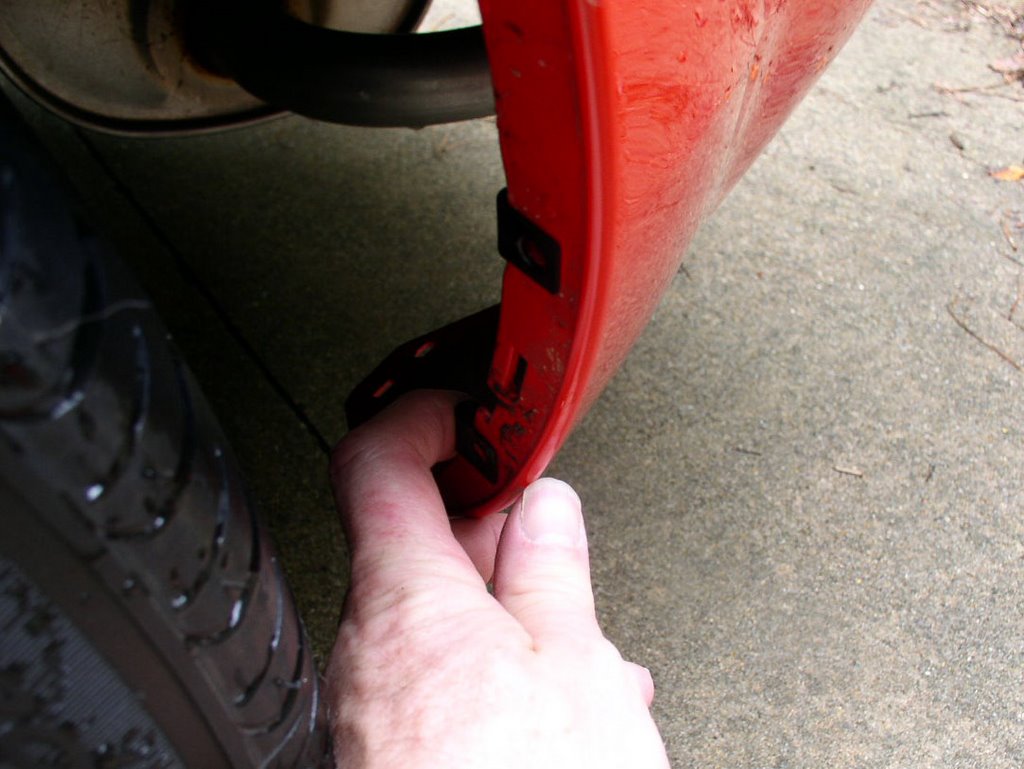 Pop two speednuts onto the existing holes, put the shield back on and screw on the splash guard.
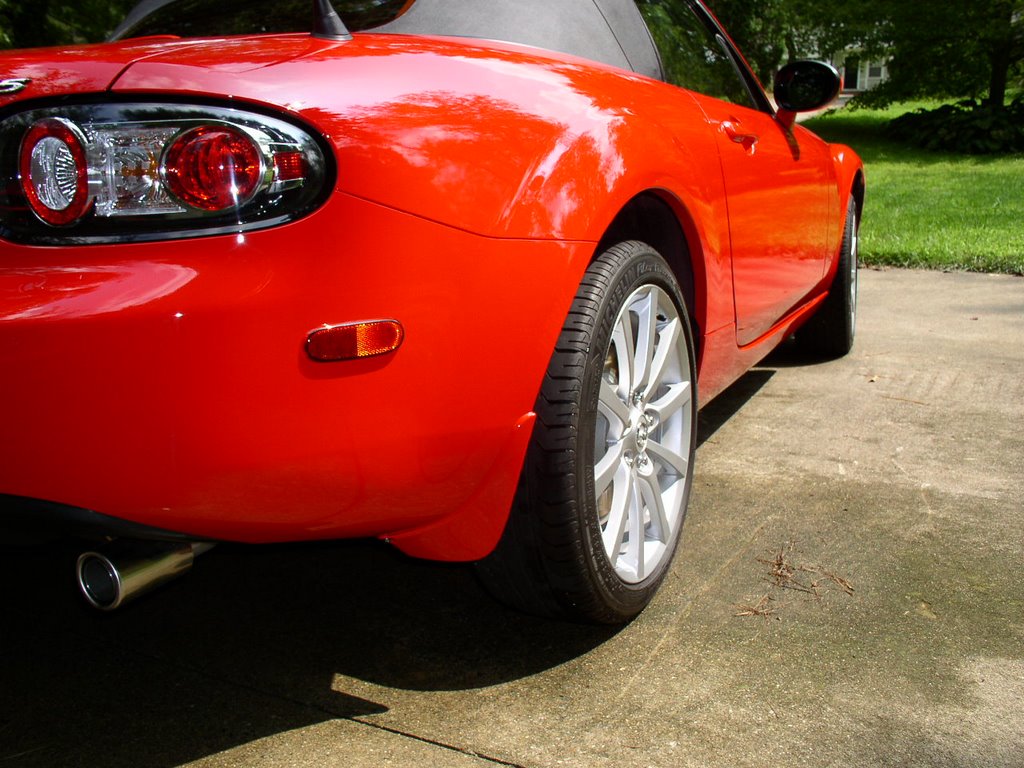
Rears done. Time to do the fronts.
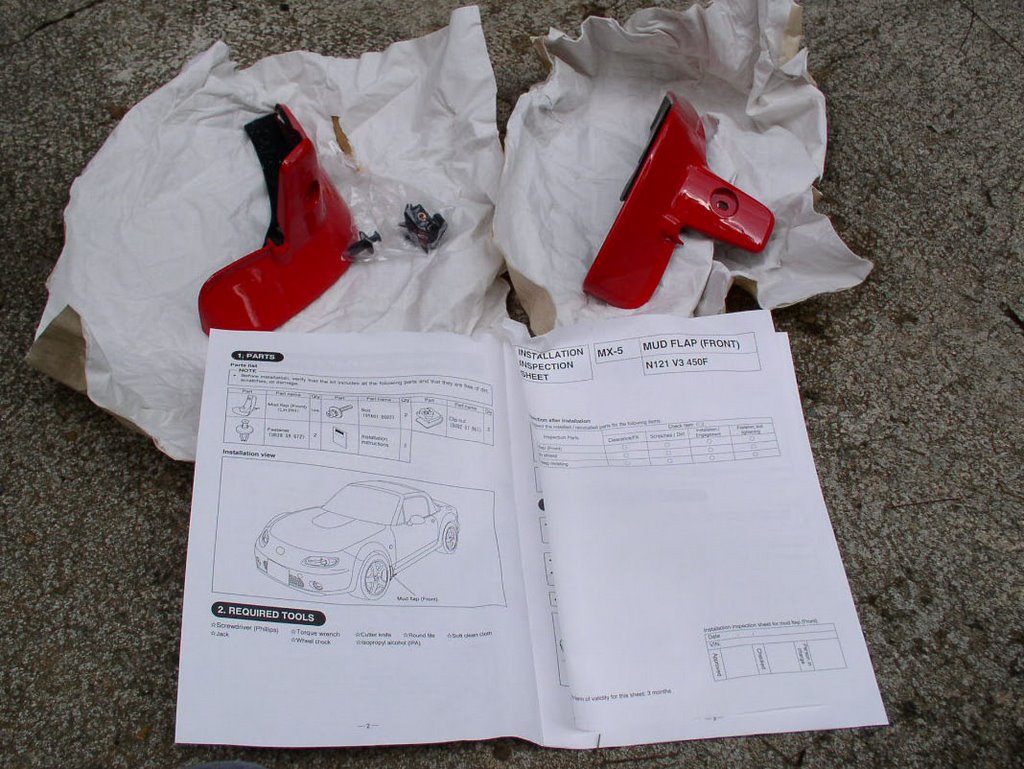 The contents of the front box are similar to the rear. Splash guards, instructions and bag of hardware.
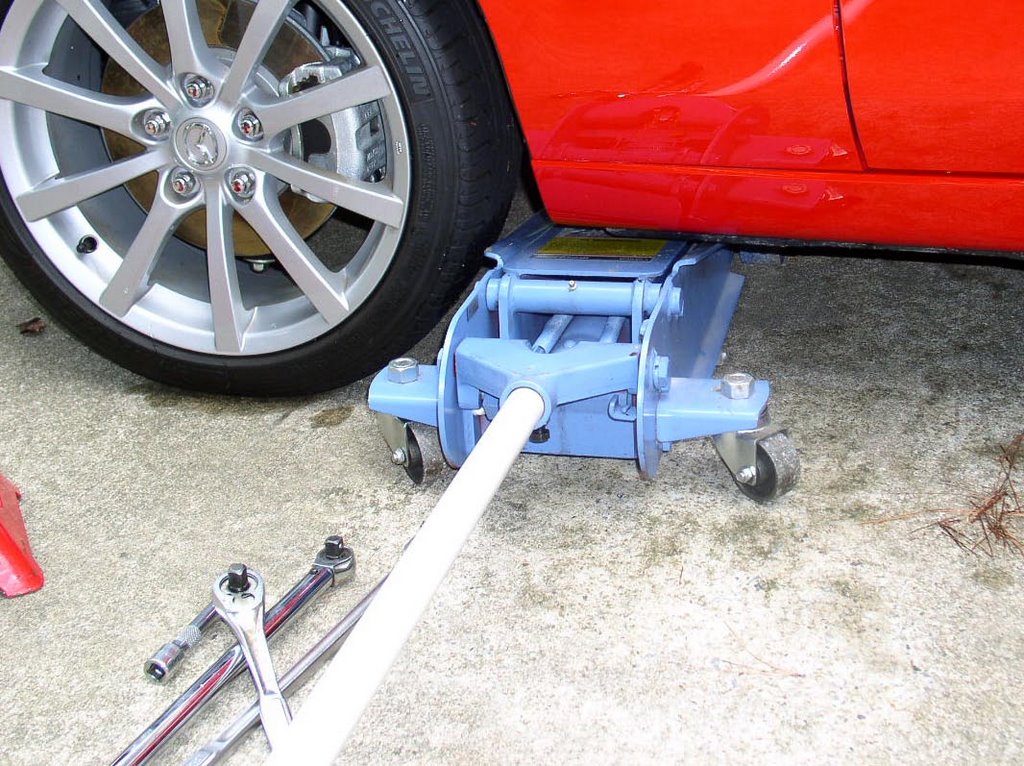 It looked like it might be easier to install the front guards with the car raised slightly. I took some time to work out how to use my floor jack to raise the car. My OTC 1525 just fits here. I lifted from end of the front crossmember. Once the car was up I put a jack stand at the factory jack point. Worked fine.
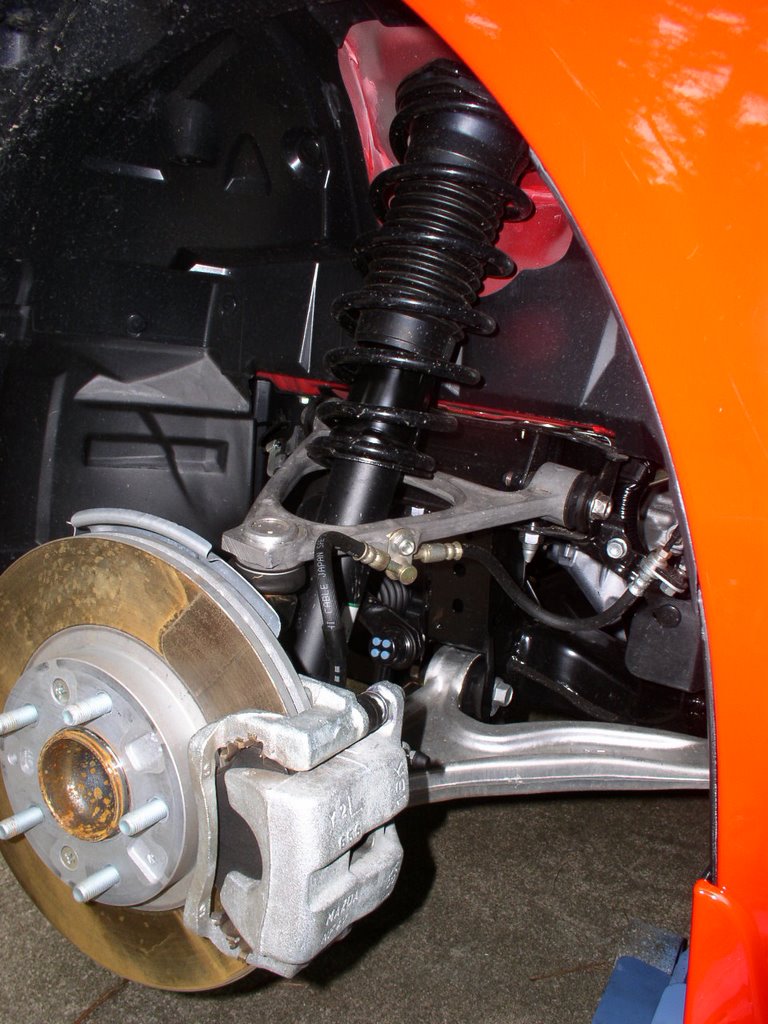 While the car was up in the air, I removed the wheel to get a better look at why this car handles so well. Nicely done, Mazda. It started raining after I took this photo. The camera went in the trunk and I did the rest of the work quickly.
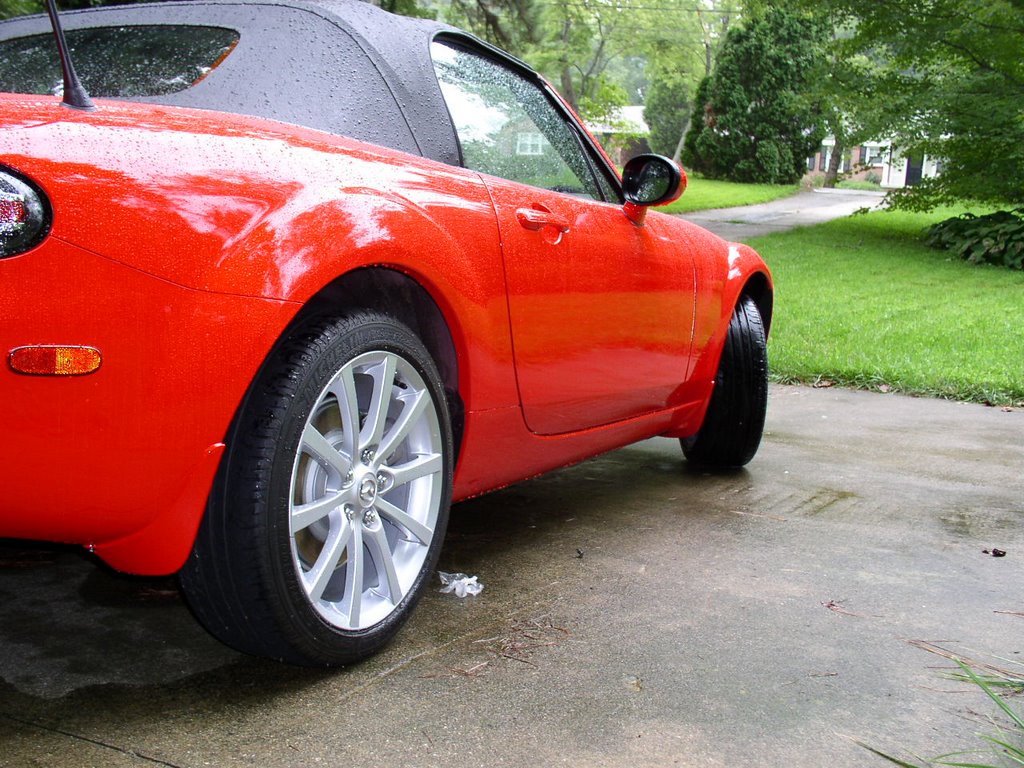
I didn't bother to raise the car for the right side. If you turn the wheel you don't need to lift the car at all. As allways you can click on the photos for a larger view.
posted by Andrew @ 3:25 PM
0 comments
![]()
